

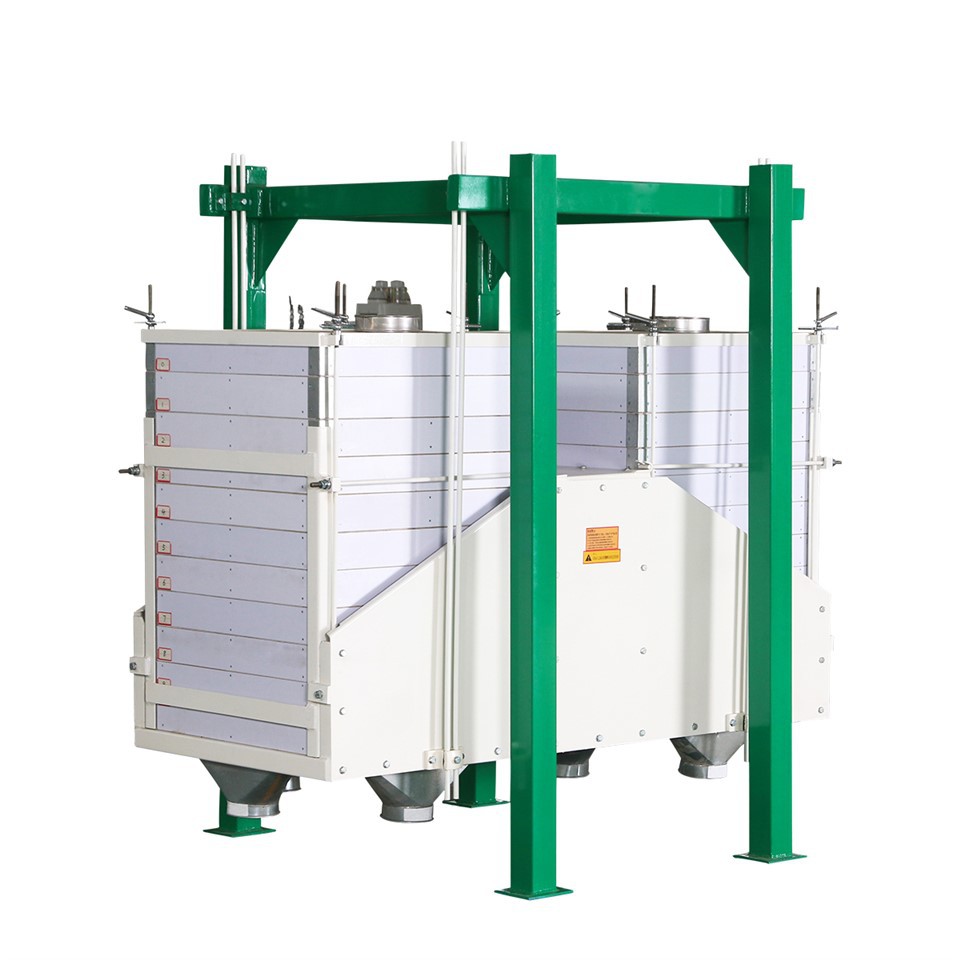
Installing a plansifter machine is a crucial process that requires careful planning, technical knowledge, and adherence to safety protocols. As a reputable plansifter machine supplier, we understand the significance of a proper installation to ensure the optimal performance and longevity of the equipment. In this blog post, we will guide you through the step-by-step process of installing a plansifter machine, providing you with valuable insights and tips along the way.
Step 1: Preparation
Before you begin the installation process, it is essential to make thorough preparations. Here are some key steps to take:
- Site Selection: Choose a suitable location for the plansifter machine. The site should be well-ventilated, have a stable foundation, and be easily accessible for maintenance and operation. Ensure that there is enough space around the machine for installation, operation, and future expansion.
- Inspection: Carefully inspect the plansifter machine and all its components upon arrival. Check for any damage or missing parts. If you notice any issues, contact our customer support team immediately for assistance.
- Gather Tools and Materials: Collect all the necessary tools and materials required for the installation. This may include wrenches, screwdrivers, lifting equipment, and safety gear. Make sure you have everything on hand before you start the installation to avoid delays.
- Review the Manual: Familiarize yourself with the installation manual provided by our company. The manual contains detailed instructions, diagrams, and safety information specific to your plansifter machine. Read it carefully and follow the guidelines throughout the installation process.
Step 2: Unloading and Positioning
Once you have completed the preparation phase, it's time to unload the plansifter machine and position it in the designated area. Here's how to do it:
- Unloading: Use appropriate lifting equipment, such as a forklift or crane, to unload the plansifter machine from the transportation vehicle. Follow the safety guidelines provided by the equipment manufacturer to ensure a safe and smooth unloading process.
- Positioning: Carefully move the plansifter machine to the installation site and position it on the prepared foundation. Make sure the machine is level and aligned correctly. Use a spirit level to check the horizontal and vertical alignment. Adjust the leveling feet if necessary to ensure a stable and balanced installation.
Step 3: Assembly
After positioning the plansifter machine, you need to assemble its components. The assembly process may vary depending on the model and configuration of your machine. Here are the general steps:
- Attach the Sieve Frames: Start by attaching the sieve frames to the machine's main body. Follow the instructions in the manual to ensure proper alignment and secure fastening. Use the provided bolts and nuts to connect the sieve frames tightly.
- Install the Drive System: Install the drive system, including the motor, belt, and pulley. Make sure the drive system is properly aligned and tensioned. Adjust the belt tension according to the manufacturer's recommendations to ensure efficient power transmission.
- Connect the Pneumatic System: If your plansifter machine is equipped with a pneumatic system, connect the air pipes and fittings. Check for any leaks and ensure that the pneumatic system is functioning properly. Follow the safety guidelines when working with compressed air.
- Install the Electrical Components: Install the electrical components, such as the control panel, wiring, and sensors. Make sure all the electrical connections are secure and properly insulated. Follow the electrical schematic provided in the manual to ensure correct wiring.
Step 4: Testing and Commissioning
Once the assembly is complete, it's time to test and commission the plansifter machine. This step is crucial to ensure that the machine is operating safely and efficiently. Here's what you need to do:

- Electrical Safety Check: Before starting the machine, perform a thorough electrical safety check. Inspect all the electrical connections, grounding, and insulation. Use a multimeter to check the voltage and continuity. Make sure there are no electrical hazards.
- Mechanical Inspection: Inspect the mechanical components of the machine, such as the sieve frames, drive system, and bearings. Check for any loose parts, abnormal noises, or vibrations. Lubricate the moving parts as recommended by the manufacturer.
- Pneumatic System Test: If your machine has a pneumatic system, test the air pressure and flow. Check for any leaks and ensure that the pneumatic valves are functioning properly. Adjust the air pressure according to the operating requirements.
- Initial Start-Up: Start the plansifter machine and let it run for a few minutes at low speed. Observe the machine's operation and listen for any abnormal noises or vibrations. Check the sieve frames for proper movement and alignment.
- Performance Testing: Conduct performance testing to evaluate the machine's sieving efficiency, capacity, and accuracy. Feed a small amount of material into the machine and monitor the sieving results. Adjust the machine settings, such as the speed, amplitude, and sieve mesh size, if necessary, to achieve the desired performance.
Step 5: Training and Maintenance
After the plansifter machine is successfully installed and commissioned, it's important to provide training to the operators and establish a maintenance schedule. Here's why:
- Operator Training: Provide comprehensive training to the operators on how to operate and maintain the plansifter machine. Train them on safety procedures, machine controls, troubleshooting, and maintenance tasks. Make sure they understand the importance of following the operating instructions and safety guidelines.
- Maintenance Schedule: Establish a regular maintenance schedule for the plansifter machine. This may include daily, weekly, monthly, and annual maintenance tasks. Follow the manufacturer's recommendations for maintenance intervals and procedures. Regular maintenance will help prevent breakdowns, extend the machine's lifespan, and ensure optimal performance.
Conclusion
Installing a plansifter machine requires careful planning, technical expertise, and attention to detail. By following the steps outlined in this blog post, you can ensure a successful installation and commissioning of your plansifter machine. As a trusted Plansifter Machine supplier, we are committed to providing you with high-quality equipment and excellent customer support. If you have any questions or need further assistance with the installation process, please do not hesitate to contact us. We are here to help you every step of the way.
If you are interested in purchasing a plansifter machine or other Flour Roller Mill Machine or Industrial Roller Mill, please feel free to contact us for more information and to discuss your specific requirements. Our team of experts will be happy to assist you in finding the right solution for your business.
References
- Manufacturer's Installation Manual
- Industry Standards and Guidelines for Flour Milling Equipment Installation


